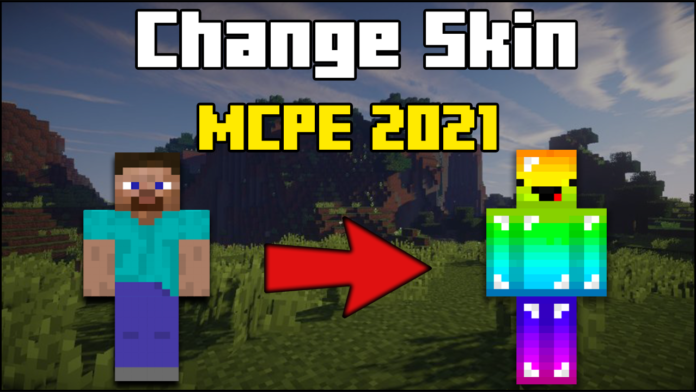
Want to customize your Minecraft character with a brand-new skin? In this guide, I’ll show you exactly how to change your skin in MCPE 2025 using a simple step-by-step process. Whether you’re looking for a cool new look or just want to refresh your appearance in-game, this tutorial will help you get it done quickly!
Step 1: Find a New MCPE Skin
Before changing your skin, you need to find one you like. There are many websites where you can browse and download skins for free.
🔹 Best Sites for MCPE Skins:
- minecraftsketchbros.eu – A huge collection of unique skins.
Browse these websites, download your favorite skin, and save it as a .PNG file on your device.
Step 2: Log Into Your MCPE Account
Now that you have your skin, it’s time to log in and upload it to your account.
- Open your web browser and go to the download link down below.
- Click on the Login button (top right corner).
- Enter your username and password, then sign in.
Step 3: Upload Your New Skin
Once you’re logged in, follow these steps:
- Look for the “Upload Skin” button on the left side of your account dashboard.
- Click on it, and then select “Choose File.”
- Locate the skin file (.PNG format) you downloaded earlier.
- Click “Upload” and wait for the confirmation message.
Your skin should now be updated!
Step 4: Check If Your Skin is Working
To make sure your new skin is applied:
- Open Minecraft PE on your device.
- Go to Settings > Profile and check your character preview.
- If the new skin appears correctly, you’re all set!
If your skin doesn’t change, try restarting the game or re-uploading the file.
Final Thoughts
That’s it! You now know how to change your skin in MCPE 2025. Whether you’re looking for a cool, funny, or custom-designed skin, this method works perfectly.
If you found this guide helpful, check out my website for more MCPE tutorials or visit my YouTube channel for step-by-step video tutorials!


