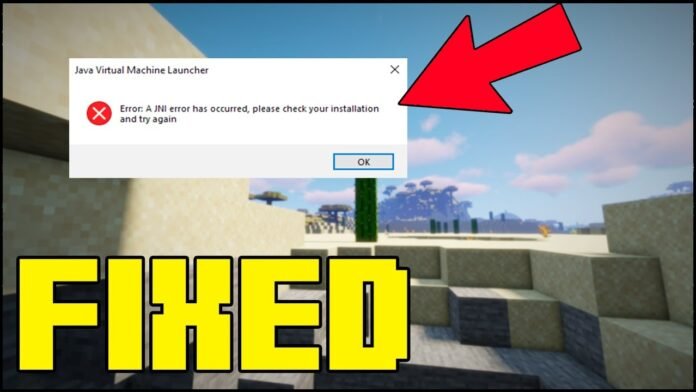
Are you experiencing Java errors in TLauncher while trying to launch Minecraft 1.21.11? You’re not alone! Many players face issues where Minecraft won’t start due to Java-related errors, but don’t worry, because this guide will walk you through every step to fix the problem quickly and easily. Let me show you How To Fix Java Error in TLauncher.
If you’re getting messages like:
“Java Runtime Environment not found”
“Could not find or load main class”
“Java path is incorrect”
Then this guide is exactly what you need to solve the problem and get back to playing Minecraft smoothly!
Step 1: Check If Java Is Installed
First, let’s make sure you actually have Java installed. If Java is missing or outdated, TLauncher won’t work properly. Here’s how to check:
- Press Windows + R on your keyboard
- Type cmd and press Enter
- In the command prompt, type:
java -version
If Java is installed, you’ll see a message like:
Java version “17.0.1” (or another version number)
If Java is not installed, you’ll need to download and install the correct version.
Step 2: Download & Install Java for TLauncher
To fix Java errors in TLauncher, you must install the right Java version. Follow these steps:
🔹 Download Java JDK 17 – Link at the bottom of the article
🔹 Download Java SE (Latest Version) – Link at the bottom of the article
Installation Steps:
- After downloading, double-click the Java installer
- Follow the on-screen instructions
- Choose the default installation location (C:/Program Files/Java)
- Wait for the installation to complete
Once Java is installed, restart your PC before moving to the next step.
Step 3: Set the Correct Java Path in TLauncher
Now that Java is installed, you need to tell TLauncher where to find it. Follow these steps carefully:
- Open TLauncher
- Click on Settings (gear icon)
- Look for Java Path and click Browse
- Navigate to this location:
C:/Program Files/Java/JDK-17/bin/javaw.exe- Select javaw.exe and click OK
Now TLauncher will use the correct Java version to run Minecraft without errors.
Step 4: Restart TLauncher & Launch Minecraft
- Close and reopen TLauncher
- Select Minecraft 1.21.11 (or the version you want to play)
- Click Play and check if the error is gone
If Minecraft launches without any issues, then congratulations, your Java error is fixed! 🎉
Bonus: Optimize Minecraft for Better FPS
If you want smoother gameplay, consider optimizing Minecraft with these tips:
🔹 Download & Install OptiFine → Click Here
🔹 Increase RAM in TLauncher Settings
🔹 Use FPS-boosting settings (Lower Render Distance, Turn Off Fancy Graphics)
Check out my detailed guide: Best OptiFine Settings for High FPS
Final Thoughts
You now know how to fix Java errors in TLauncher and play Minecraft 1.21.11 without any issues. If this tutorial helped, let me know in the comments or check out my YouTube channel, Minecraft Sketch Bros, for more in-depth Minecraft guides!
Related Articles:
➡ How To Install OptiFine in TLauncher
➡ How To Fix OpenGL Error 65543 in Minecraft
Download Links:
- Java SE (Latest Version): Click here
- Java JDK 17: Click here
- More Minecraft Tutorials: Visit My Website
Need More Help? Join my YouTube channel for step-by-step Minecraft tutorials! This is finally How To Fix Java Error in Tlauncher!


